Wednesday, June 30, 2010

Making resin jewelry bracelets, Part 1

Share |
In my post from last week about which resin bracelet people preferred, the colorful, stretchy style won by a mile!  As I embark on making more of these, I want to include pictures on the process and just how it gets from a sketch pad to a finished piece of resin jewelry.

Part 1 of the resin bracelet making process

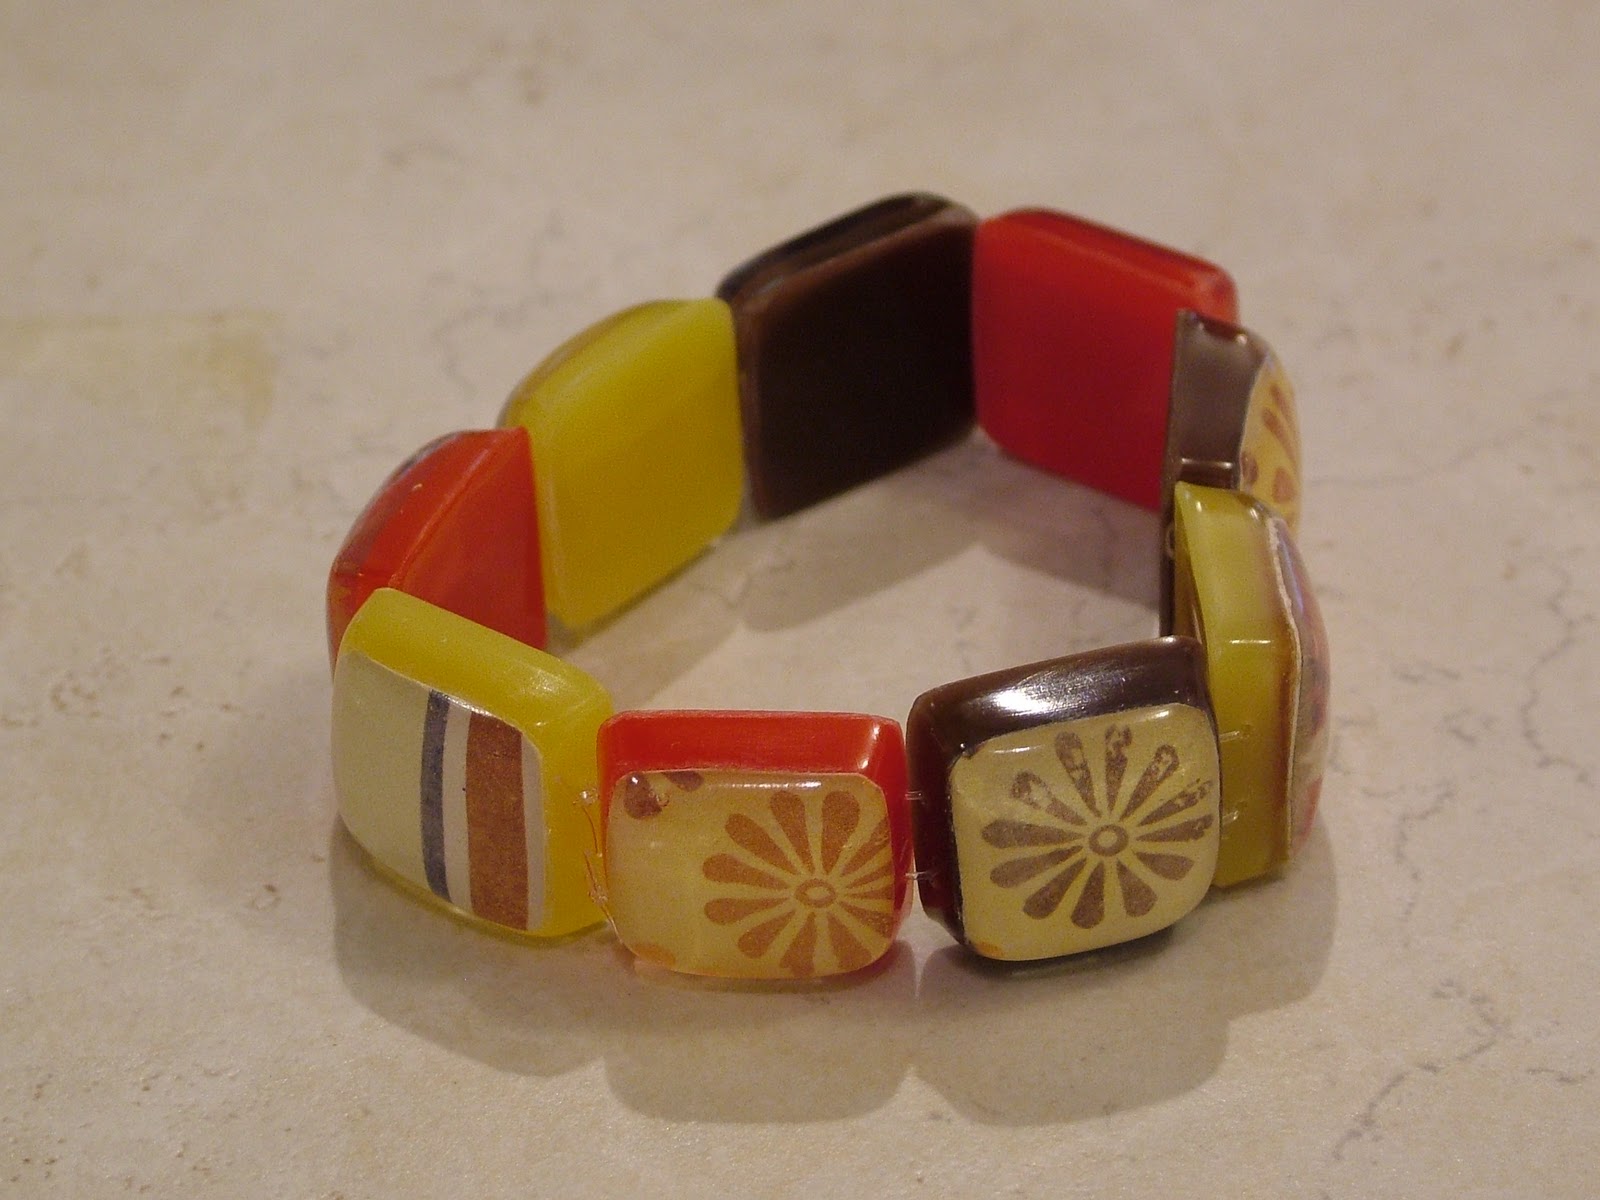
Before I ever start making the resin bracelets, I collect different kinds of paper to go in the bracelets.  These papers could be vintage papers, wall papers, computer generated art, and such.  I keep them all together and every so often go through them to group together ones that would be complementary in their presentation.  For these, I liked the flowers and the pinks and chose to pair these three together as a bracelet.


Before I can use the papers in the resin, I have to seal them.  I use a decoupage glue (general catch all term for many different kinds of sticky, sealing glue) to cover both sides of the paper.  What happens if I don't seal the papers?  See my blog post with one of my resin bracelet prototypes.

I use a wide paint brush (no particular quality) and apply a thin layer of the glue to both sides of the paper.  It's just enough to cover the paper, almost the same idea as basting a piece of meat on the grill.  I now have to let the paper dry a couple of hours before I can cut out the squares.

To be continued....

Monday, June 28, 2010

Some down time from jewelry making

Share |
I had family in town for a few days to visit.  They were also wine drinkers and I always love trying out new wine.  My favorite new wine that I tried was Nobilo Sauvignon Blanc, a white from New Zealand.  It had some quite fragrant pear notes to it and it paired well with the goat cheese we also enjoyed as an appetizer.  I almost always prefer red wine, but in this hot weather, a nice chilled white wine seems to hit the spot.  I'm looking forward to picking this one up the next time I'm through my favorite wine shop.

Thursday, June 24, 2010

My new jewelry making class - Forged metal pin

Share |
 
 I have a new jewelry making class that I will be teaching at Gifts of Avalon on August 2.  It is learning how to make a wire brooch.  (Class examples are shown here.)


This brooch is completely made without soldering!  I made this brooch with brass wire, but class attendees can make it with copper, sterling silver or gold fill wire if desired.  NO experience is necessary.


The class will be officially announced in Gift's of Avalon's newsletter going out next week, but you can register for it now by calling them.

I am also teaching the forged bracelet class on July 12 for anyone interested in signing up for that class as well.

Monday, June 21, 2010

Vote for your favorite bracelet!

Share |
 I have a couple of resin bracelet prototypes finished and would like some opinions on what you think! 
Please vote on which one is your favorite.  (Neither bracelet is in "perfect" shape to sell -- so please vote and make comments on the "samples".)  The poll is at the end of this blog post.   

By the way, if you leave a constructive comment on this blog post about what you like, don't like, questions, concerns, etc. by June 30, I will enter you in a drawing for one of my resin bracelets once they're finished.  :)


 This resin bangle bracelet is made with one style of paper.  It completely encircles the inner part of the resin bracelet.
 This bracelet has multiple components, all with complimentary papers.  Several of the links have the striped paper shown in the bangle bracelet.
 It is a stretchy bracelet that can be considered a "one size fits all".

 The bracelet can be made to have all the colors on the backside be the same.


The resin bracelet is a "one size almost fits all".  I'm contemplating having two sizes available.


 The interior in this bracelet is white.  Others will have a different color on the interior.


 On a model!  (yes it's me)


It is a little loose on the wrist (no different from most bracelets.)


Complimentary papers and colors.


 The bangle on a model (yes me again).


It is definitely a little larger fit than the stretchy, but that's kinda what bangles are supposed to do.


Friday, June 18, 2010

The "Father" of my artisan jewelry career

Share |
In a Father's Day tribute of sorts, I would like to thank Doug Harling for being the "father" of my jewelry career.  (I have to put that in quotes because he's not really old enough to be my father.)

Full Measure, 2006
by Doug Harling
22k gold, black coral branch,
padparadscha sapphire
3.5" x 2.5" x 2.25"

I met Doug in the summer of 2003 when I took his granulation jewelry making class at the Penland School of Craft.  I was a last minute addition to the class and his was the only one that had openings.  (The other ironic part about this is that Doug was a replacement for the original teacher for the granulation class who had been injured in an accident.)  Doug is a very gifted jeweler and was on staff at the University of North Carolina at the time.

I joked that I was the class misfit.  I was the only one that didn't have or wasn't pursuing a bachelor's or master's in fine art.  I was incredibly touched that Doug didn't treat me any differently.  In fact, the second week of the class, he took every available moment he had to teach me EVERYTHING I wanted to know about jewelry making.  It was such an incredible gift, one that I will always be thankful for.  There is no way I can possibly repay him for all the knowledge I have gained.

Thank you Doug!  I will forever be grateful!

Wednesday, June 16, 2010

Frequently asked questions about resin jewelry and resin jewelry making

Share |
I get a lot of questions about what I do.  I thought I would share some of the most popular questions with their answers, plus a few pictures.

What is resin?

Resin is an organic compound that can be made naturally by plants or synthetically in a controlled setting.  This material starts out as a liquid, but eventually hardens into a soft to very firm finished material.

How does resin work?

The resin I use is a two part system.  There is the resin, to which the catalyst or hardener is added.  You have probably seen some of these products in your favorite home improvement store.  (Resins are great at bonding different kinds of materials.)  The resin has to be carefully and exactly measured before the two are mixed together.  I have to mix them together for 3 to 5 minutes with a toothpick or wooden tongue depressor without "whipping" it so that I don't introduce bubbles.  (Who wants Alka Seltzer looking resin jewelry?)

So how do you use it?

Resin has to be mixed according to its specific directions.  Every resin is different!  Once the resin is mixed, there is a period of time that it is still liquid (pot time).  During this time, I can add colors or additives, pour it and work bubbles out of it.  After that pot time (which varies from minutes to hours), there is a total cure time.  This can also vary from 2 hours to 3 days.

What kind of resin do you use?

I use silicone resins mostly to make molds.  They are very flexible when finished, but too rubbery to make jewelry.  I have worked with polyurethane resin and like the finished jewelry.  (very hard and durable).  The problem is that polyurethane resins hate humidity, so it makes it almost impossible to work with in Florida.  Currently I use epoxy resins and polyester resins. 

How long does it take to make a piece of resin jewelry?

At a minimum, it takes 3 days, assuming that it's only one color or one pour of resin.  I have to wait a minimum of 1 day between pours and sometimes longer.  Once the resin is completely cured (3 days for the polyester resin and epoxy resin I use), it takes another couple hours of sanding and buffing to get the pieces just right.

How durable are resins?

Resin jewelry is pretty strong.  It will eventually show slight scratches with wear (much like metal jewelry), but can easily be polished up with a good museum quality wax.

Monday, June 14, 2010

Perfect chocolate cake to take to a picnic

Share |
This is my favorite chocolate cake recipe.  I love that it's meant to go in a 9 x 13 pan, which makes it ideal to go to picnics and cookouts.  I was getting my thoughts together about what to take to an upcoming 4th of July picnic and remembered this recipe!

Texas Sour Cream Cake

Cake portion ingredients:
1 cup of butter
1/4 cup dry cocoa
1 cup water
2 cups flour
2 cups sugar
1/2 teaspoon salt
2 eggs
1 cup sour cream (I always use the full fat version)
1 teaspoon baking soda

Preheat the oven to 350 F.  Grease and flour a 9 x 13 metal cake pan.

In a large saucepan, combine the butter, cocoa and water.  Bring to a boil and remove from heat.  Sift the flour, sugar and salt together.  Add this to the hot mixture.  Mix well.  Beat together the eggs, sour cream and baking soda.  Gradually add this to the chocolate mixture.  (A note from me, I use a handheld electric mixer versus a stationary one to be able to mix in the saucepan.)

Pour into the cake pan and bake for 30 minutes.  Test for doneness with a toothpick or broom straw.  Allow to cool 5 minutes out of the oven.  Pour on the icing.

Icing ingredients:
1/2 cup of butter
1/4 cup dry cocoa
1/3 cup milk or half and half
1 pound of confectioner's sugar
1 teaspoon of vanilla

Melt the butter, cocoa and milk or half and half.  Bring to a boil.  Beat in the confectioner's sugar and vanilla.  Pour the icing across the cake.  It will be runny!  (Don't worry as it will firm up as the cake cools.)

Friday, June 11, 2010

Making new resin jewelry -- the next step

Share |

A couple of weeks back, I showed the first part of the new resin bracelets I am designing.  I've got some pictures showing adding the layer of colored resin to the back of the links. 


These resin bracelet jewelry links are using the papers I have sealed.  (Notice there's no watermarks this time.)  I put them in the mold first with a layer of clear resin to make the "top" part of the bracelet link.  It takes three days in between pours to allow the resin plenty of time to cure.


You can see how different the papers look with a different color resin poured on the back of the bracelet link.  I think it gives some "character" to the paper design.


The links are about 1/2 inch total in height.  I haven't decided yet whether or not I want to mix the colors or keepthem all the same.


I try to keep the top layer of clear resin with the paper as thin as possible to allow me to get a thicker layer of color on the back.  (Just a note here, it wasn't the best lighting.  The pieces in the front are actually a deep red, not the bright orange red that they look like here.)

The next step will be to sand off any rough edges and string them onto a bracelet.  Stay tuned.

Wednesday, June 09, 2010

Decorating on a budget

Share |
With the spring cleaning does the urge to redecorate enter your mind? I know it does for me.  In addition to purchasing new art for a space, there are some low cost ways, budget friendly ways to freshen up a room. I like to watch the HGTV shows to get ideas for color schemes and the like, which I have found comes in handy when planning resin jewelry colors.  I always like seeing someone else's experimentation with colors and textures and find that it spills over into my home decorating habits. 

I wanted to share the article "Low Budget Decorating, High Style Looks" by Kahi Lee of the Home and Garden Television show, Design on a Dime. She details a few simple tricks "do-it-yourself-ers" can do to give any room in your home a fresh, new look.  She definitely shows that redecorating doesn't have to be expensive.

Monday, June 07, 2010

The business of making art

Share |
In my ideal world, selling my acrylic and resin jewelry would be like the Field of Dreams movie.  "Build it and they will come."  Alas if it were only that easy!  Having a successful artisan jewelry business requires active participation on my part.  I just can't simply make handcrafted jewelry and expect people to magically know to find me.  There presents the quandry.

Balancing the business of making contemporary jewelry and marketing contemporary jewelry is not easy.  I tend to get stuck on one or the other at some point.  Over the past week, I have been on a creative tear and find that I have to beat myself to follow up on emails and phone calls.  Perhaps it's because artists go through mental blocks too (at least this one does), so when I'm on a good creative track, I hate to give it up.

I write this blog post as motivation to help me find the right balance, which some days, is easier than others!  Okay, back to the studio.....

Thursday, June 03, 2010

A fun day with my peeps

Share |

For anyone in the Gainesville or Alachua County Florida area needing something fun to do with their kids, I have a suggestion.  I took my kids the other day to the water/spray park in Alachua, Florida.  It's a part of their park complex just a couple of blocks from downtown.  My kids had a great time!  (All of mine are under age five.)  That's two of them in the picture here.  You can see there are fountains, sprinklers, and overhead water buckets that will dump on you.  (Pretty entertaining for little kids.)


As a mom, there was a few things I really liked.  It's completely fenced in with the entry gate something that only adults can reach to open and close.  It was very clean and the water was definitely chlorinated.  A park employee was there maintaining a few things (notice the barricades) and he was also quite nice.  There are some picnic benches close by so the adults can sit under trees and supervise.  It was during the week, so it wasn't crowded, but I hear it can get a bit busy on the weekends.  We will be going back!


Tuesday, June 01, 2010

Any wine drinkers out there?

Share |
So I consider myself a wine enthusiast.  I like to try new wines and pair them with food.  It's my way of being "artsy" in the kitchen.  I opened two bottles of Malbec (from Argentina) this past weekend and was QUITE disappointed.  Is anyone else having this experience?  They were both 2009 vintages.  Perhaps I just need to let them mature a little longer and try again?  Wine drinkers, please comment!
Related Posts with Thumbnails